
Cooler Baskets and Dividers: How to Organize a Cooler
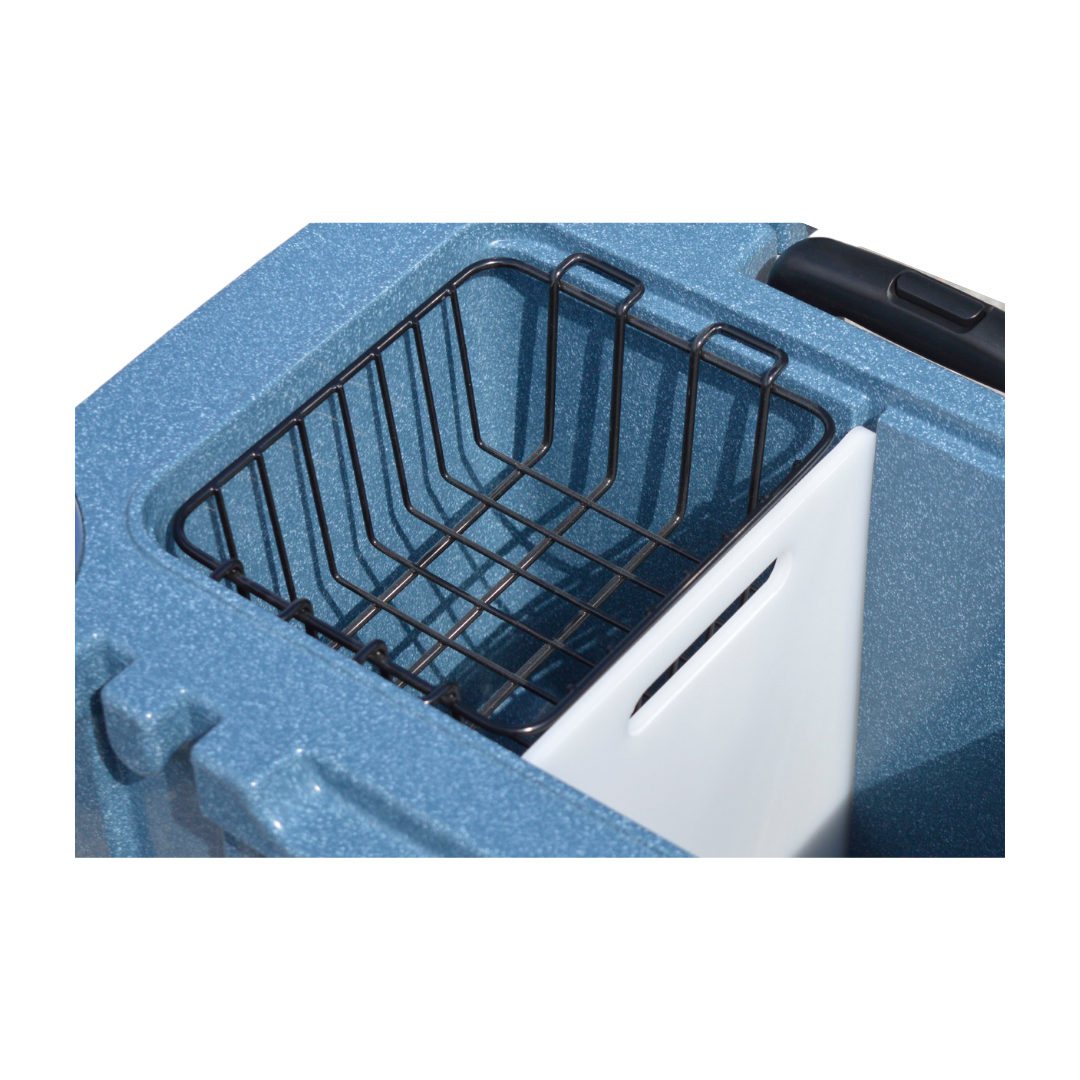
Organize a cooler in three zones: a dry goods basket near the top for bread, produce, and anything bagged, the middle for sealed ready-to-eat food, and the bottom for raw meat and ice. A basket keeps dry items above the meltwater and a divider helps keep different types of food organized and easier to access. Two simple accessories can make a big difference in how your cooler is packed.
The classic cooler disappointment is not warm drinks. It is reaching in on day two and finding the bread has been floating, the cheese is waterlogged, and the raw chicken has drifted somewhere it should not be. None of that is a cooling problem. It is a layout problem.
Why a cooler needs zones at all
Left alone, a cooler becomes one wet compartment where everything shares space with everything else. That causes three separate problems: dry food gets soggy, raw food ends up touching ready-to-eat food, and finding anything means unpacking the whole thing with the lid open.
Zoning fixes all three at once, and it takes two pieces of gear rather than a system.
Zone one: a dry goods basket up top
A hanging basket sits above the ice line and holds everything you want cold but dry. Bread, produce, cheese, eggs, anything in a bag. It is the single accessory most people wish they had bought sooner.
The Dry Goods Cooler Basket hangs inside the Ice Box and gives you a dedicated dry shelf, and there is a Cabin Cooler Dry Goods Basket sized for that line. It also doubles as the fast-access layer, since the things you reach for most sit at the top where the lid barely has to open.
Zone two: a divider through the middle
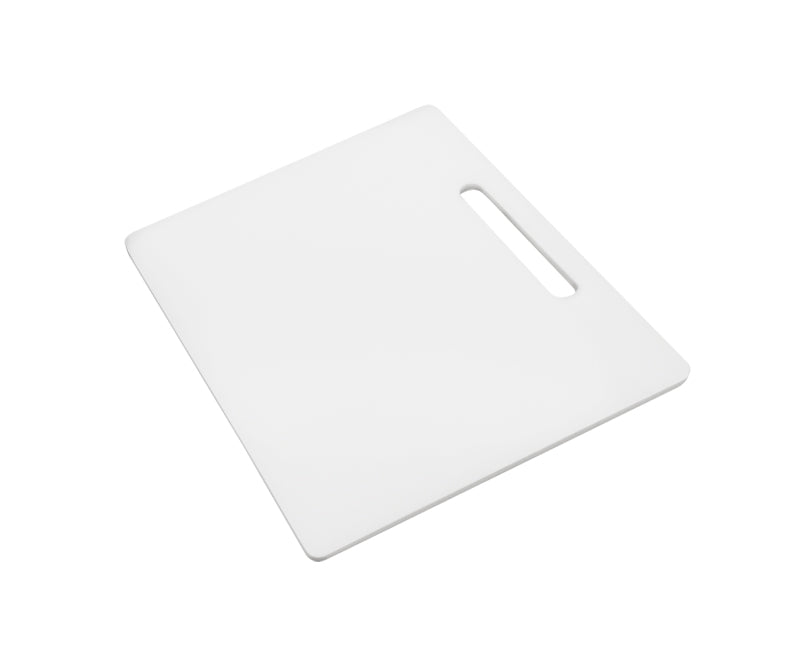
A rigid divider splits the interior into separate zones, which makes it easier to keep different types of food organized and to find what you need. That matters most on the trips where you are carrying meat for the barbecue alongside food nobody is going to cook.
The cutting board divider included in the Ice Box Essential Kits does both jobs: it partitions the cooler and lifts straight out as a prep surface, which is genuinely useful on a dock or a picnic table where counter space does not exist. On the Cabin Cooler line, the ice pack divider separates zones and keeps contents chilled rather than just dividing space.
Zone three: raw food and ice at the bottom
Raw meat and ice belong at the bottom of the cooler. Keeping raw items below everything else means that if a package leaks, it is less likely to drip onto food you are about to eat.
Seal raw food in containers or bags before it goes in. It keeps odours out of the cooler interior, keeps meltwater out of the food, and makes cleaning up easier afterward.
The packing order that makes it work
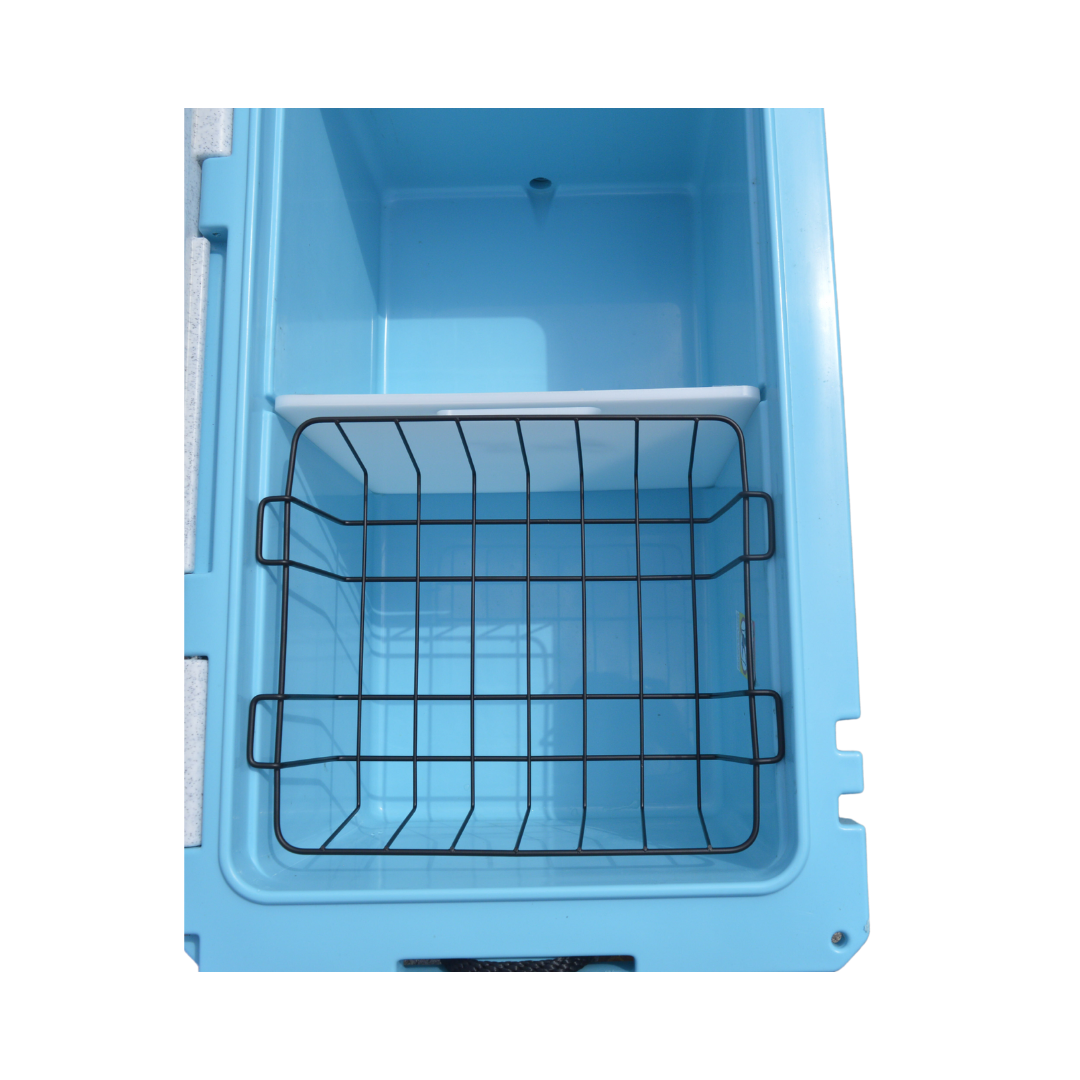
- Ice and any frozen items across the bottom
- Sealed raw meat down in the ice, wherever it will not shift
- Divider in place, splitting the interior
- Sealed ready-to-eat food and drinks in the main section
- Basket hung on top, loaded with bread, produce, and anything bagged
- Last-day items at the bottom, first-day items nearest the top
The point of the order is that a whole weekend of food goes in once and comes out in the order you need it, with the lid open for seconds rather than minutes.
Kits, if you would rather not piece it together
If you are setting up a new cooler, the Ice Box Essential Kits bundle the basket and divider sized to each cooler, which removes the guesswork on dimensions. Choose the Essential Kit designed for your specific cooler model and capacity.
Fit is the thing worth getting right. A basket that does not match the interior either will not hang properly or wastes space, and accessories are sized per model rather than being universal.
Keeping it all clean
- Take the basket and divider out and wash them separately after messy trips
- Wipe the interior with warm water and mild dish soap, paying attention to the corners
- Rinse and air-dry with the lid open before storage, and store it propped open
- Keep the gasket and lid contact points clean so grime does not build up
Maintenance guidance is per Chilly Moose product specifications. A clean cooler is also a cooler that does not need airing out for a week in spring.
Why we make the small parts
Chilly Moose is a woman-founded, family-owned Canadian company that started at a kitchen table in Schomberg, Ontario. Baskets, dividers, and replacement parts are not the glamorous end of the catalogue, but they are what turns a good cooler into an organised one. Set it up once. Use it for years.
Frequently asked questions
Do I really need a basket, or can I just put bread on top of the ice?
You can, and it works until the first thing shifts. A basket holds the dry layer in place so it stays above the meltwater for the whole trip rather than the first hour of it.
Will a basket from one cooler fit another?
Not reliably. Baskets and dividers are sized to specific models and capacities, so match the accessory to your exact cooler rather than to the product line generally.
Where should raw meat go in a cooler?
At the bottom, sealed in a container or bag, below everything else. Keeping raw items low and sealed helps reduce the chance of drips reaching food that is ready to eat.
Can I use a divider as a cutting board straight away?
Wash it first, then yes, that is what it is designed for. Clean it again before it goes back in as a divider.
How do I stop the cooler smelling after a fishing trip?
Seal anything strong before it goes in, wash the interior and the accessories the same day, and dry everything fully with the lid propped open before storing.
Shop the Products in This Article
Basket up top, divider through the middle, ice and raw food at the bottom. Set it up once and every trip after that is easier.


